How to Set Up a VPN on Mac: App Install and Manual Setup, Step by Step
The best thing about having a Mac is that settings and toggles aren’t hard to find, and it’s pretty straightforward compared to Windows or, God…
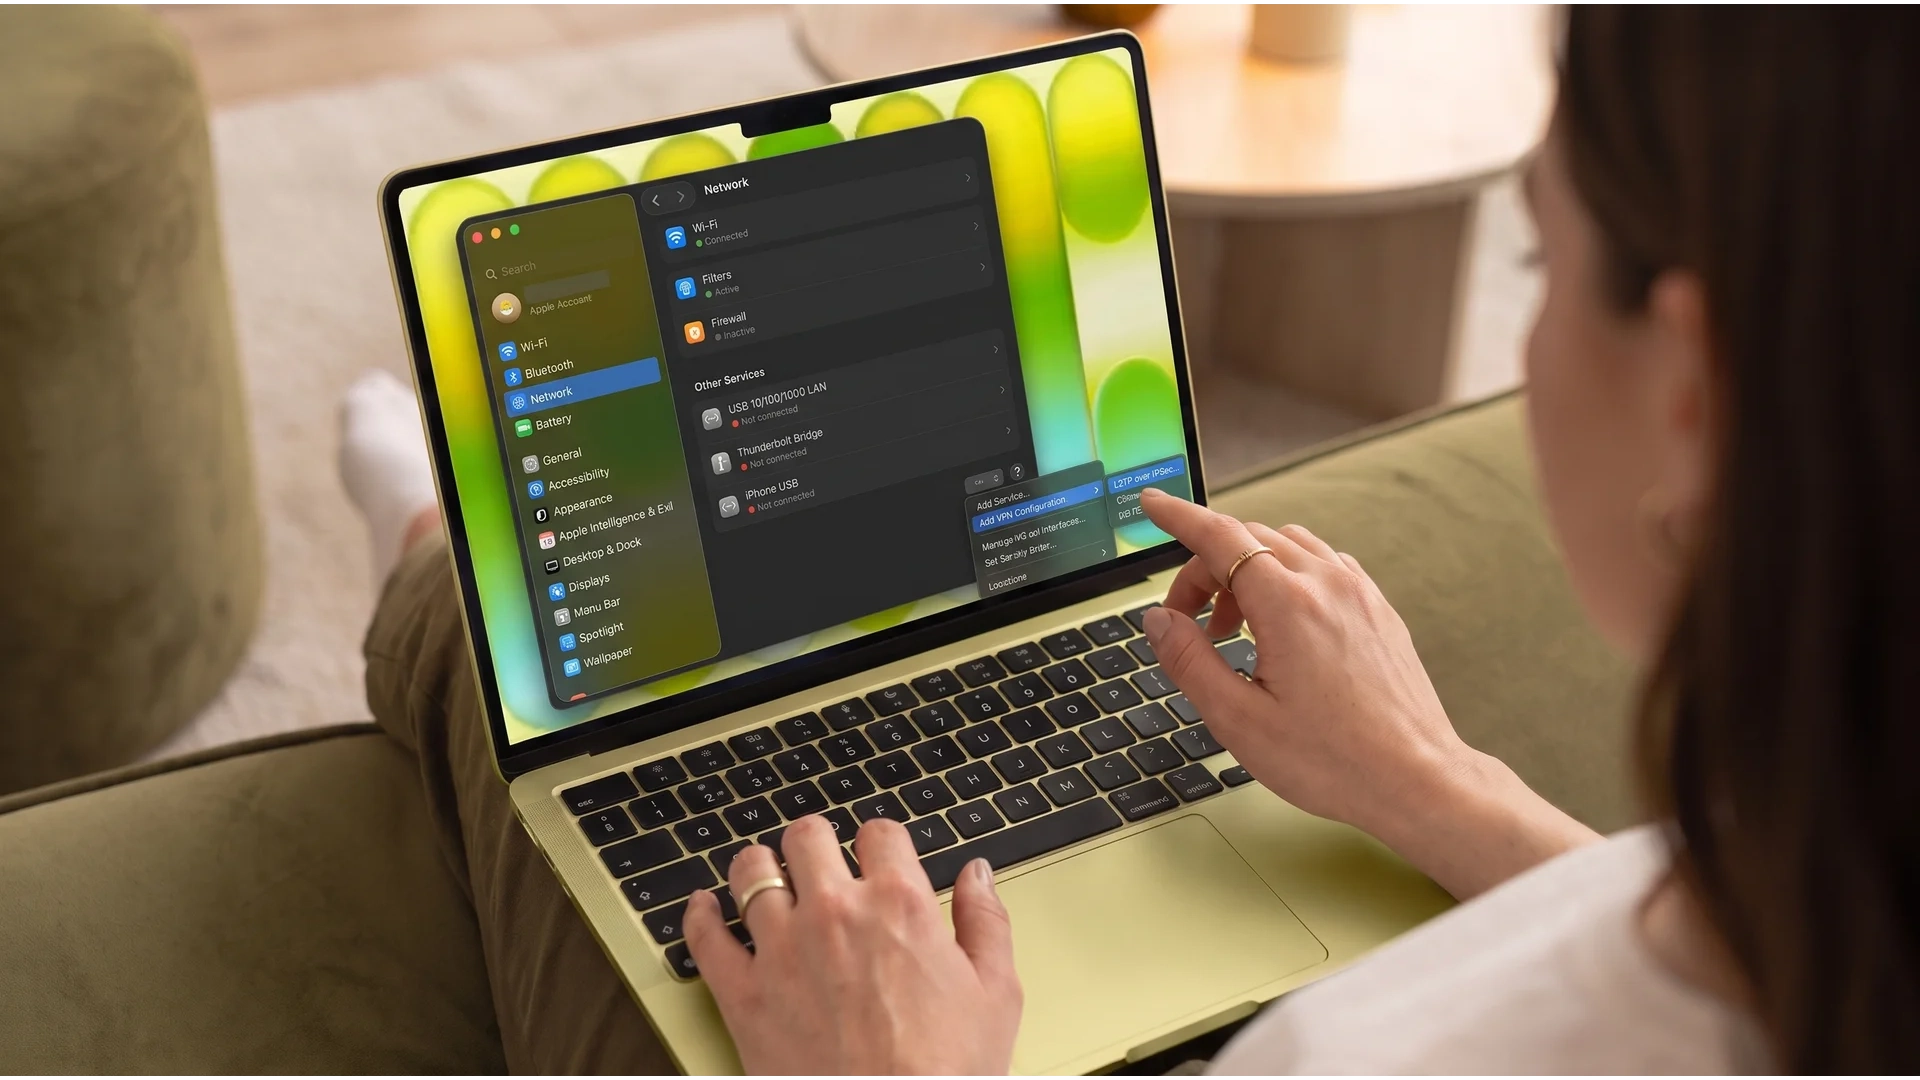
Protect your online privacy and security
Fast, private, and easy to use, get Hidzo on your device and browse freely with one tap.
Get HidzoVPN The best thing about having a Mac is that settings and toggles aren’t hard to find, and it’s pretty straightforward compared to Windows or, God forbid, Linux distros. So, how to set up a VPN on a Mac doesn’t have a complicated answer, but if you don’t know your way around, it can still be frustrating.
For the easiest route, install a VPN app, sign in, and click Connect. If you prefer to do it by hand, open System Settings > Network, add a VPN configuration, and enter the server details from your provider. Either way, you can finish in under ten minutes, and the sections below cover both methods, plus tests and fixes for when something breaks.
Table of Contents
How to Set Up a VPN on Mac
You have three ways to get a VPN running on a Mac. A VPN app does most of the work for you, the built-in client lets you enter the connection details by hand, and Tunnelblick handles OpenVPN configuration files. The sections below start with a few basics, then walk through each method so you can follow the one that fits your setup.
Does a Mac Have a Built-In VPN?
macOS includes a VPN client that can connect to a server, but it does not include a VPN service. You still need a provider (or a company network) that gives you the server address, account details, and connection type.
That’s why manual VPN settings on Mac feel confusing at first. The client is ready, but it has nothing to connect to until you fill in someone else’s details.
Which Method Should You Use?
Your choice depends on how much control you want and what your provider supports.
| Method | Setup effort | Kill switch | Best for |
|---|---|---|---|
| VPN app | Low | Usually included | Most users, including MacBook owners who want a quick start |
| Manual setup in System Settings | Medium | None built in | user with server details from a provider or employer |
| OpenVPN with Tunnelblick | Higher | Depends on the configuration | Technical users with an .ovpn file |
If you have no strong reason to go manual, the app route saves time and adds protections the built-in client lacks.
Method 1: Install a VPN App on Your Mac
This is the fastest way to install a VPN on Mac, and it works the same on a MacBook Air, MacBook Pro, iMac, or Mac mini.
- Download the app from your provider’s website or the Mac App Store.
- Open the installer and drag the app into your Applications folder.
- Launch the app and sign in with your account.
- Click Allow when macOS asks to add VPN configurations, then confirm with your password or Touch ID.
- If the app asks for approval of a system extension, open System Settings > Privacy & Security and allow it there.
- Pick a server, or let the app choose one, and click Connect.
Step 5 trips up many people. The app can look frozen when it is really waiting for you to approve the extension in Privacy & Security.
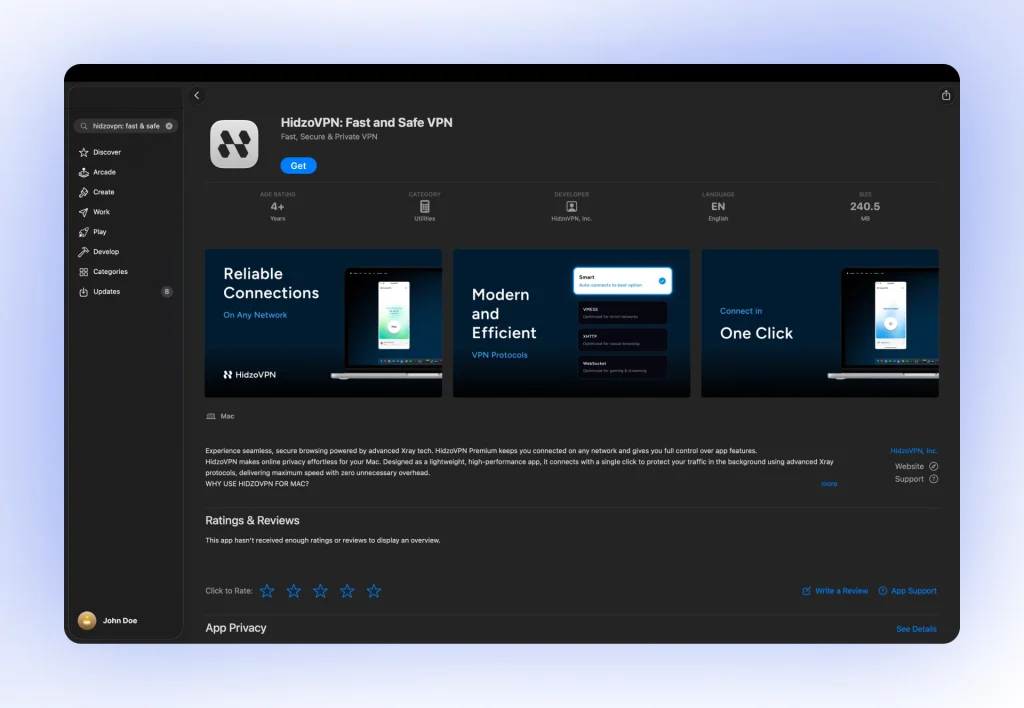
HidzoVPN for Mac follows this exact flow, and you can grab the VPN download from the downloads page. The app handles the configuration for you, so you never touch the Network settings.
Method 2: Configure a VPN Manually in System Settings
Manual setup suits you if your employer or provider gave you raw connection details instead of an app. Gather these from them first.
- The VPN type (L2TP over IPSec, Cisco IPSec, or IKEv2)
- The server address
- Your account name and password
- A shared secret or certificate, if the connection needs one
Then follow these steps.
- Click the Apple menu and open System Settings, then select Network.
- Find the VPN section and choose Add VPN Configuration. Depending on your macOS version, this sits behind the three-dot button.
- Select the VPN type your provider gave you.
- Enter a display name you will recognize, plus the server address and account name. IKEv2 connections also ask for a Remote ID.
- Open the authentication settings and enter your password, shared secret, or certificate.
- Click Create, then turn on the option to show VPN status in the menu bar if you see it.
- Select the new VPN and click Connect.
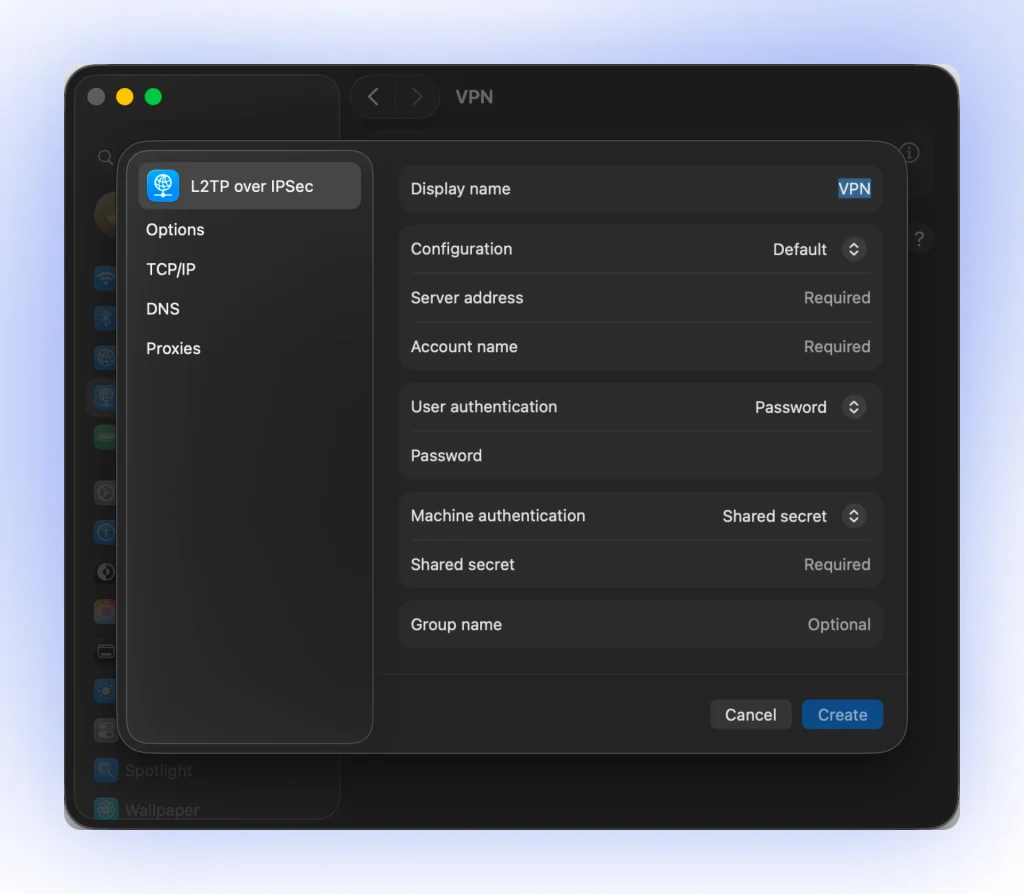
IKEv2 is a common choice for manual setups because it reconnects quickly when your Wi-Fi changes. Still, the best VPN protocol for you depends on what your provider supports, so check before you pick.
One limit matters here. The built-in client has no kill switch, so if the tunnel drops, your traffic flows out through your normal connection without any warning.
Method 3: Set Up OpenVPN With Tunnelblick
Some providers hand out OpenVPN configuration files instead of built-in settings. For those, Tunnelblick is a free, open-source client that runs OpenVPN on macOS.
- Download Tunnelblick from its website and move it into your Applications folder.
- Launch it and let it finish its first-run setup.
- Get the .ovpn file from your provider.
- Drag the file onto the Tunnelblick icon in your menu bar, or double-click it.
- Choose whether the configuration works for you only or for all users on the Mac.
- Click the Tunnelblick icon, select your configuration, and choose Connect.
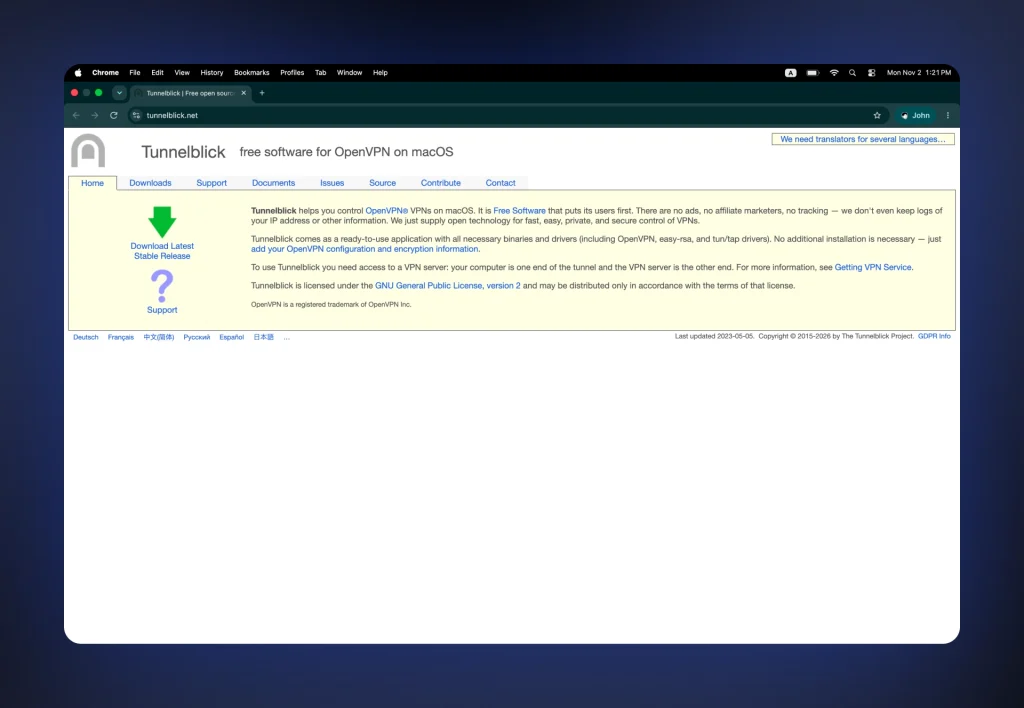
This route gives technical users the most control, although it takes the most effort. Whether you get a kill switch depends entirely on how the configuration file is written.
How to Connect, Turn On, and Use a VPN on Mac Day to Day
Once your VPN is set up, daily use takes a few clicks.
- App users click the menu bar icon or open the app window, pick a server, and hit Connect.
- Manual users open System Settings > Network, select the VPN, and click Connect, or use the menu bar icon if you enabled it.
- Everyone benefits from auto-connect, which many apps offer under a launch-at-login or connect-on-startup setting.
Connect before you start sensitive work, especially on public Wi-Fi. A VPN that starts after your browser loads protects less than one that is already running.
How to Check If Your VPN Is Working on Mac
A green “Connected” label tells you the app is happy, not that your traffic is safe. Run these checks to be sure.
Confirm the connection status. The menu bar icon or Network pane should show Connected. Terminal users can run scutil --nc list to see every VPN service on the Mac and its current state.
Compare your IP address. Note your public IP with the VPN off, connect, and test again. A quick VPN IP address check should show a different address and a location that matches your server.
Run a DNS leak test. Use any reputable DNS leak test while connected. The results should show resolvers that belong to your VPN provider, not your internet provider.
Look for IPv6 leaks. If a test shows an IPv6 address tied to your ISP, your VPN may not cover IPv6 traffic. You can switch IPv6 to Link-local only under Network > Wi-Fi > Details > TCP/IP, though that change affects all your connections.
Test the VPN kill switch. With an app connected, turn Wi-Fi off and back on. Your real IP should never appear in a fresh IP test during the reconnect.
Common VPN Problems on Mac and How to Fix Them
Even a clean setup can hit a snag, especially after a macOS update or a long sleep. Most Mac VPN problems trace back to a handful of causes, and each one has a quick fix. Find the symptom that matches yours below.
VPN Not Connecting on Mac or Stuck on “Connecting”
Start with the basics. Quit the app, restart your Mac, and update both macOS and the VPN app, because a recent update often breaks an older version.
If that fails, try a different server or protocol, double-check your credentials, and delete old VPN configurations from earlier installs. Other VPN or security software can also block the tunnel, so disable it briefly to test.
VPN Stopped Working After a macOS Update
If your manual L2TP or IKEv2 connection died right after updating to macOS Tahoe, you probably hit a compatibility change. Apple removed support for several older encryption, integrity, and key exchange algorithms from the built-in client, so servers still using them no longer connect.
Typical symptoms include errors like “IPSec negotiation failed” or “No acceptable proposal found.” Ask your provider or IT team to enable modern IKEv2 settings, or switch to the provider’s own app, which usually avoids the problem.
Connected but No Internet
When the tunnel shows Connected but pages refuse to load, the culprit is often DNS, the system that turns website names into addresses. Your Mac may keep sending lookups outside the tunnel or hold a stale cache.
Flush the cache by running this in Terminal.
sudo dscacheutil -flushcache; sudo killall -HUP mDNSResponder
Then reconnect or try another server. If the problem stays, check whether another network tool or custom DNS setting is overriding the VPN.
VPN Drops After Sleep or Wake
Macs pause network activity during sleep, so the tunnel often needs to rebuild after you open the lid. Turn on auto-connect in your app so it reconnects without a manual click.
Also check the Private Wi-Fi Address setting for your network. If your VPN or network relies on a stable device address, set it to Fixed or Off for that network, since a changing address can interrupt reconnections.
Authentication Failed Errors
Look closely at the credentials you typed. Some providers issue separate service credentials for manual setups, and these differ from your account login email and password.
Remove stray spaces, retype the shared secret, and confirm the server address matches your provider’s list. If everything looks right, reset your VPN password and try again.
Tips for Using a VPN Securely on Mac
- Switch on the kill switch in your app so traffic stops if the tunnel drops.
- Use split tunneling with care. Split tunneling lets chosen apps skip the VPN, which helps speed but leaves those apps unprotected.
- Keep everything updated. Install macOS and VPN app updates promptly, since they patch security flaws and compatibility problems.
- Avoid running two VPNs at once. Competing tunnels cause dropped connections and confusing leaks.
- Watch for overlap with Private Relay. iCloud Private Relay covers Safari browsing and some app traffic and works differently from a VPN. If a site behaves oddly with both on, turn Private Relay off for that network and test again.
- Choose a provider you trust. Look for a clear no-logs policy and a native Mac app rather than a bare configuration file.
How to Turn Off or Remove a VPN on Mac
When you’re done with your private browsing and want to switch back to your baseline internet connection, or you want to remove the VPN you’re using and replace it with another provider or connection method, you can follow these instructions.
- Disconnecting VPN: click Disconnect in your app, the menu bar icon, or the VPN entry in System Settings > Network.
- Removing a manual setup: open System Settings > Network, select the VPN, and use the remove or delete option.
- Uninstalling a VPN app: quit it, drag it from Applications to the Trash, and delete any leftover VPN configuration in Network settings.
Final Thoughts
A VPN on your Mac comes down to picking the right method. The app route gets you running in minutes, manual settings work when your provider hands you server details, and Tunnelblick covers OpenVPN configurations. After setup, test for IP, DNS, and IPv6 leaks so you know the tunnel works.
If you want the simplest path, grab reliable VPN software built for Mac and let the app handle the configuration.
FAQs
A Mac has a built-in VPN client, not a VPN service. It can connect to a server you already have details for, but you need a provider or employer network to supply them.
The encryption can match, depending on the protocol you use. Apps usually add a kill switch, split tunneling, and leak protection that the built-in client does not offer.
Sleep pauses network activity, which breaks the tunnel. Turn on auto-connect so your VPN rebuilds the connection when your Mac wakes.
Yes. Every MacBook runs the same macOS settings. Menu labels may shift slightly between macOS versions, but the flow stays the same.
Not if you enable auto-connect. Most apps can launch at login and connect on their own, which keeps you covered without extra clicks.
macOS protects your device well, but it does not encrypt your traffic across the network. A VPN covers that gap, which matters most on public Wi-Fi and when you want to hide your IP address from websites.
A VPN adds a small amount of overhead because it encrypts your traffic and routes it through a server. Choosing a nearby server and a modern protocol keeps the slowdown minor for most people.
Article by
-
 Sam Clarke
Sam is a cybersecurity and online privacy writer dedicated to making complex network protection accessible, practical, and engaging.





Share your thoughts
Add a comment